Step-By-Step Guide On How To Properly Use An Auto-Darkening Welding Helmet
2024-08-23
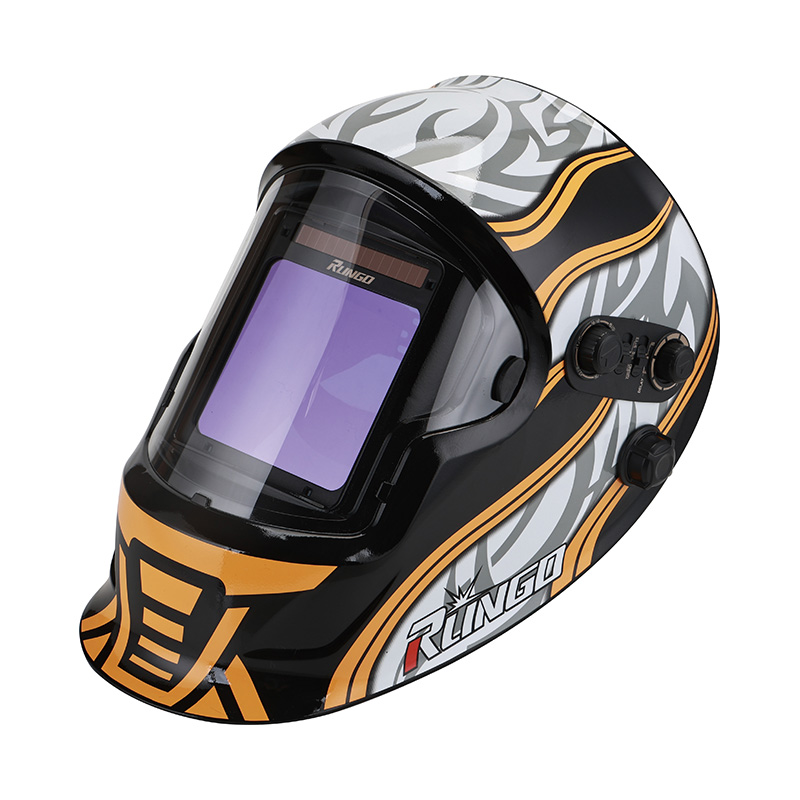
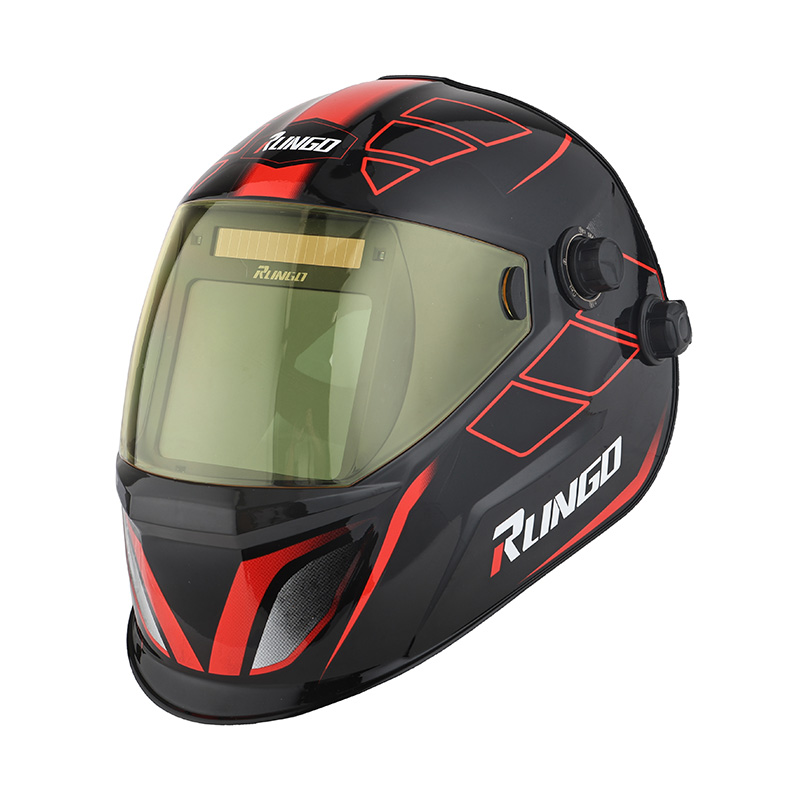
An adjustable auto darkening welding helmet is an indispensable tool for welders, offering enhanced protection, convenience, and efficiency during various welding processes, including MIG welding. Unlike traditional helmets, which require manual adjustments, these advanced helmets automatically adapt to changing light conditions, making them particularly popular among professionals and hobbyists alike.
1. Inspect the Helmet
Before starting any welding project, thoroughly inspect your adjustable auto darkening welding helmet. Check for visible damage, such as cracks or scratches on the lens and shell. Damaged helmets compromise safety and functionality, so replace any components that show signs of wear or malfunction.
2. Adjust the Fit
A well-fitting helmet is essential for comfort and effectiveness. Use the adjustable straps on your auto darkening MIG welding helmet to ensure a snug yet comfortable fit. The headgear should secure the helmet firmly on your head, preventing it from slipping during use. Adjust the tension and padding to suit your preferences for prolonged comfort during extended welding sessions.
3. Set the Delay
The delay setting controls how quickly the lens returns to its clear state after the arc is extinguished. Adjust the delay on your adjustable auto darkening welding helmet based on the type of welding you are performing. For high-intensity projects like MIG welding, a slightly longer delay can help protect your eyes from residual light and heat.
4. Set the Sensitivity
Sensitivity determines how responsive the helmet is to light changes. Depending on your work environment, adjust the sensitivity of your auto darkening MIG welding helmet to ensure it darkens appropriately. In bright environments, a higher sensitivity setting may be needed, while dimmer conditions require lower sensitivity to prevent unnecessary darkening.
5. Check the Battery
adjustable auto darkening welding helmets are powered by batteries, often supplemented by solar panels. Verify the battery’s charge status and replace or recharge it as needed. Some helmets feature indicators to notify you when the battery is low. Ensure the power supply is sufficient to avoid interruptions during your work.
6. Position the Helmet Properly
Before striking an arc, position the viewing window of your auto darkening MIG welding helmet directly in front of your eyes. Ensure it provides a clear and unobstructed view of your work area. The helmet should fully cover your face to shield it from sparks, heat, and harmful radiation.
7. Strike the Arc
When you strike the arc, the sensors on your adjustable auto darkening welding helmet detect the intense light and immediately darken the lens. This reaction occurs within milliseconds, protecting your eyes from harmful ultraviolet (UV) and infspeciald (IR) radiation. If the lens fails to darken, pause work immediately and check for obstructions or faulty settings.
8. Welding Process
During welding, the lens of your auto darkening MIG welding helmet remains dark, ensuring continuous eye protection. The adjustable settings enable you to work seamlessly, whether you're performing detailed MIG welding or larger-scale operations. Focus on your technique without the need to lift the helmet to inspect your work, as the lens automatically adapts.
9. Post-Welding Inspection
Once the welding is complete, the lens transitions back to its clear state. This feature allows you to inspect your welds without removing your adjustable auto darkening welding helmet. If the lens doesn’t clear, review the settings or consult the user manual for troubleshooting.
10. Maintenance and Cleaning
Proper maintenance is vital for the longevity of your auto darkening MIG welding helmet. Clean the lens regularly with a soft, non-abrasive cloth and a suitable lens cleaner. Avoid using harsh chemicals or rough materials that can scratch the lens or damage the sensors. Periodically inspect the helmet for any accumulated debris that might interfere with its functionality.
11. Storage Guidelines
When not in use, store your adjustable auto darkening welding helmet in a protective case or designated storage area. Avoid placing it in direct sunlight or high-temperature environments, which can damage the lens or affect the battery’s performance. Proper storage helps prolong the lifespan of the helmet and ensures it’s ready for future projects.
12. Troubleshooting Common Issues
If your auto darkening MIG welding helmet doesn’t perform as expected, consult the user manual for troubleshooting tips. Common issues include a non-responsive lens, incorrect shade settings, or low battery. In cases of persistent problems, contact the manufacturer for support or consider professional repairs.

